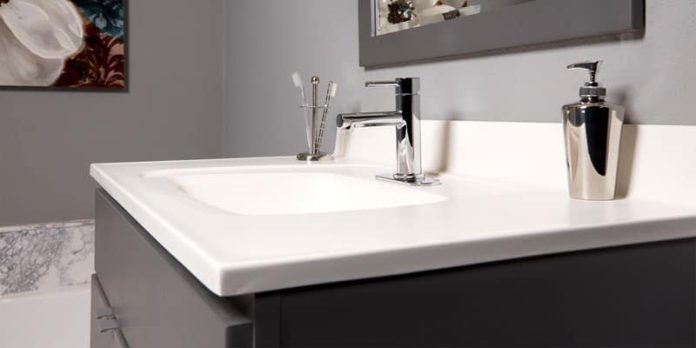
Breathing life to a new piece of furniture is not something that all people would do. Some simply don’t know how to do it, others prefer to buy a new one from myhomeware vanity, and there is the third kind that would want to restore something old.
Well, whether you are seasoned DIYer or haven’t done any restoring at all, our six-step guide is easy to follow and can help you restore an old bathroom vanity into its full glory with ease.
Step #1 – Take Elements Apart
First of all, remove all the hardware. Find a suitable screwdriver to remove all the screws and other attachments that kept the doors and drawers in place. Simply dismantle all the doors and drawers and set them aside.
Once you do that, fetch a damp cloth and wipe everything down. After you are done wiping the elements, allow them to dry.
Step #2 – Sanding
For this step, you will need to find a sanding block wrapped in sandpaper. Start lightly sanding all surface areas of the vanity, as well as all the fronts of all drawers and doors.
Direct your moves in the same direction as the wood grain to eliminate fine scratches. After you are done sanding the drawer, doors, and cabinet, you can start wiping them all with a damp rag. After you are done with that, let them dry.
Step #3 – Coating
For this step, you will need a specially engineered high-adhesion primer that you can use to coat the vanity in full. Again, you will need to direct your moves in the same direction as the wood grain using smooth and long strokes.
Pay attention to drips, and once you are done, allow the coating to dry in full.
Step #4 – Paint it
Paint the vanity along with its doors and drawer fronts. To this end, you can use two coats of semi-gloss paint. If you want to achieve a cottage-style appearance, grab a sanding block and lightly distress some of the edges of the drawer and door fronts.
Step #5 – Protect the New Paint Job
The best way to do this is to add a layer of water-based polyurethane. Make sure that the polyurethane is non-yellowing.
Step #6 – Bring Back All Together
This is the step in which you need to re-attach the drawers, doors, and hardware back together. In case some or all of the vanity’s hardware is outdated, you might want to replace it with new handles and/or knobs. Switching them is fairly easy and straightforward. Plus, almost all home improvement stores have a big selection of hardware to choose from.
While you are at it, you might want to consider replacing the faucet as well, if it’s as old the vanity. You can choose one that matches the new look of your vanity. Faucets are also widely available and can be bought in most home improvement stores.


